IBM WebSphere
Please refer to the Waratek Proposed Directory Structure section in this document for assistance with the steps below.
Basic Configurations
-
Log in to the
administrative consolefor the WebSphere node where you want to install the Waratek Java Agent. -
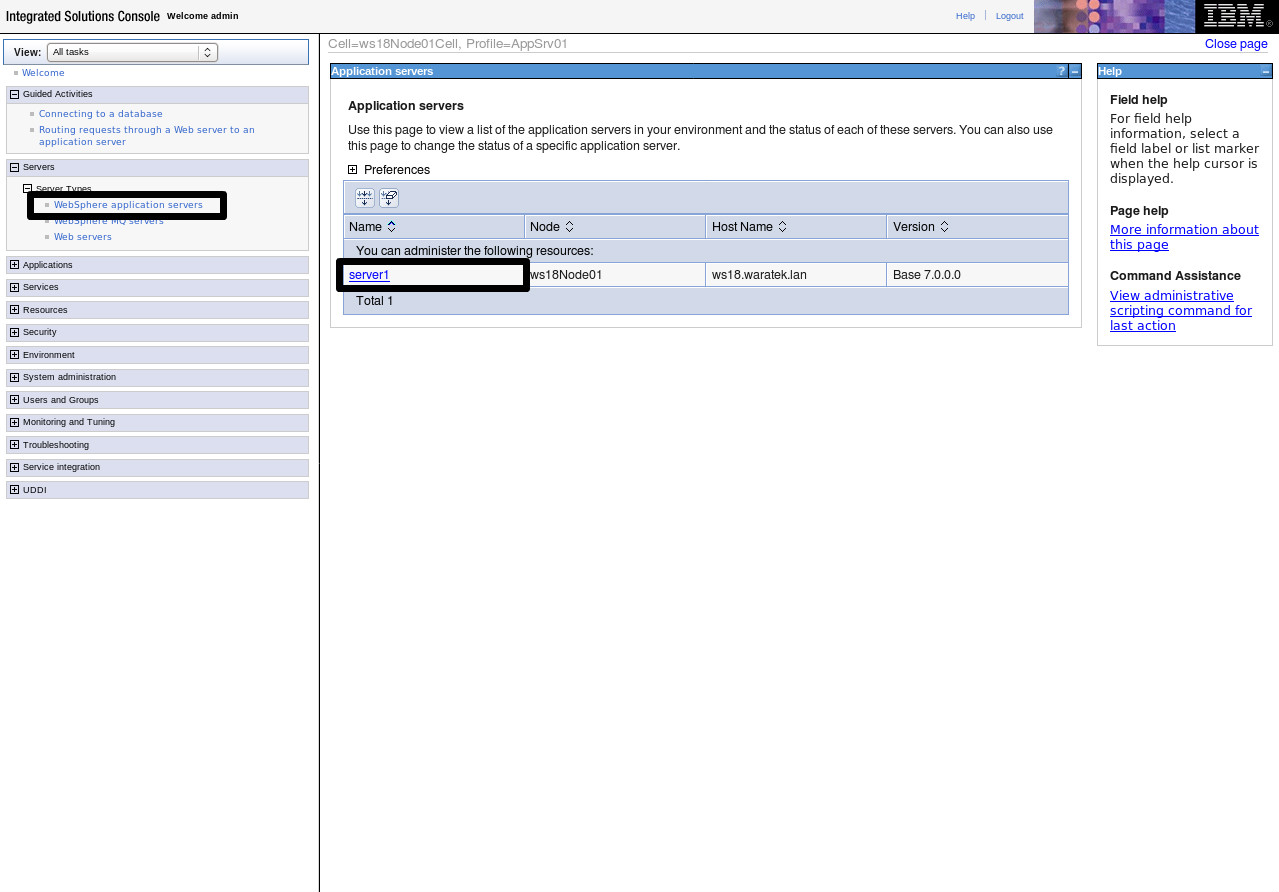
In the administrative console, click
WebSphere application servers>server_name. -
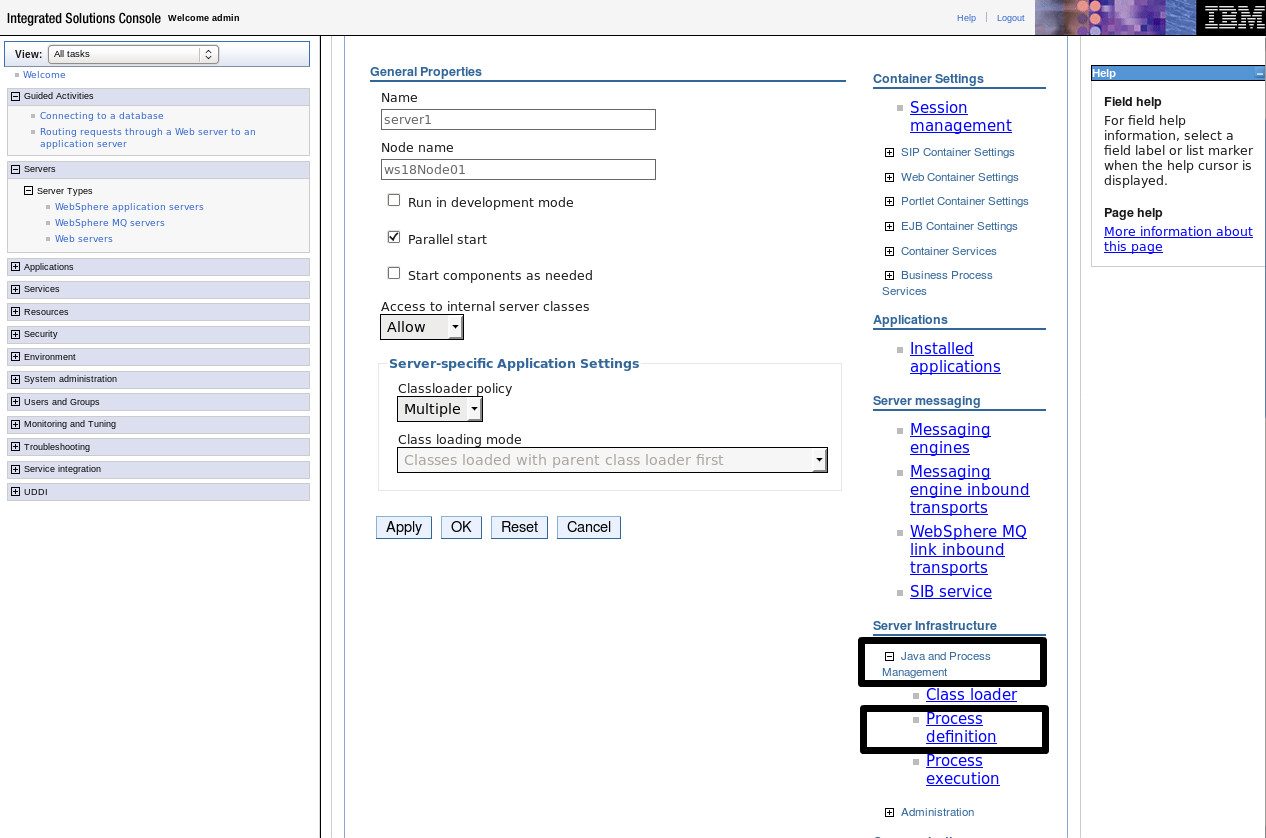
Click
Java and Process Management>Process definition. -
Click
Java Virtual Machine. -
In the
Generic JVM Argumentsfield, add theJVM optionsas follows:
- On Linux
-javaagent:/opt/waratek/agent/waratek.jar -Dcom.waratek.WaratekProperties=/opt/waratek/<conf_*>/<name of property file>
- On Windows
-javaagent:<absolute-path-to-waratek-software>\\agent\\waratek.jar -Dcom.waratek.WaratekProperties=<absolute-path-to-waratek-software>\\<conf_*>\\<name of property file>
6. Click Apply.
7. Save the changes.

8. To enable the Waratek Java Agent on Application Servers with Security Manager.
The Java Security Manager is configured via one or more 'policy' files. The default policy is stored in JAVA_HOME/jre/lib/security/java.policy
When a custom policy file is defined, the application policy file will extend the 'java.policy' file.
To enable the Waratek Java Agent for applications with one or more 'policy' files, add the following entry into one of the active 'policy' files (making sure to replace <absolute-path-to-waratek-software> with the correct path):
grant codeBase "file:<absolute-path-to-waratek-software>/agent/*" {permission java.security.AllPermission;};
There could be rare cases where a Java Security Manager policy in place can not be edited and may prevent the Waratek Java Agent from working as expected. On Java Agent v25.0.0+ , a new Waratek debugging option has been introduced which disables the Java Security Manager.
-Dcom.waratek.debug.DisableSecurityManager=true
9. Restart the WebSphere server. The server must be restarted for the changes to take effect.