Integrating with SAML
This section details the steps required to provide the Portal with Single-Sign-On (SSO) functionality, by integrating the Portal with a SAML IdP (Identity Provider).
Configuring a SAML IdP
The steps below assume that the Portal is running on https://localhost:8443, and should be adjusted according to the real scheme, host and port.
Only one SAML IdP can be integrated with the Portal at any one time.
Your IdP can only be fully configured after it has been linked to the Portal, but the Portal needs the IdP metadata in order to be fully configured. This is a chicken-egg kind of problem, which can be overcome using the steps below.
-
In your IdP, setup a new SAML SSO configuration, with dummy values for Entity Id and Assertion Consumer Service, e.g.:
- Entity ID:
https://localhost:8443/saml2/dummy - Assertion Consumer Service:
https://localhost:8443/saml2/sso/dummy
- Entity ID:
-
In your IdP, export the Provider Metadata. It will export into an XML file.
-
In the Portal, add an Identity Provider as follows:
-
Go to Settings > System Settings > SAML. You will be taken to this page:
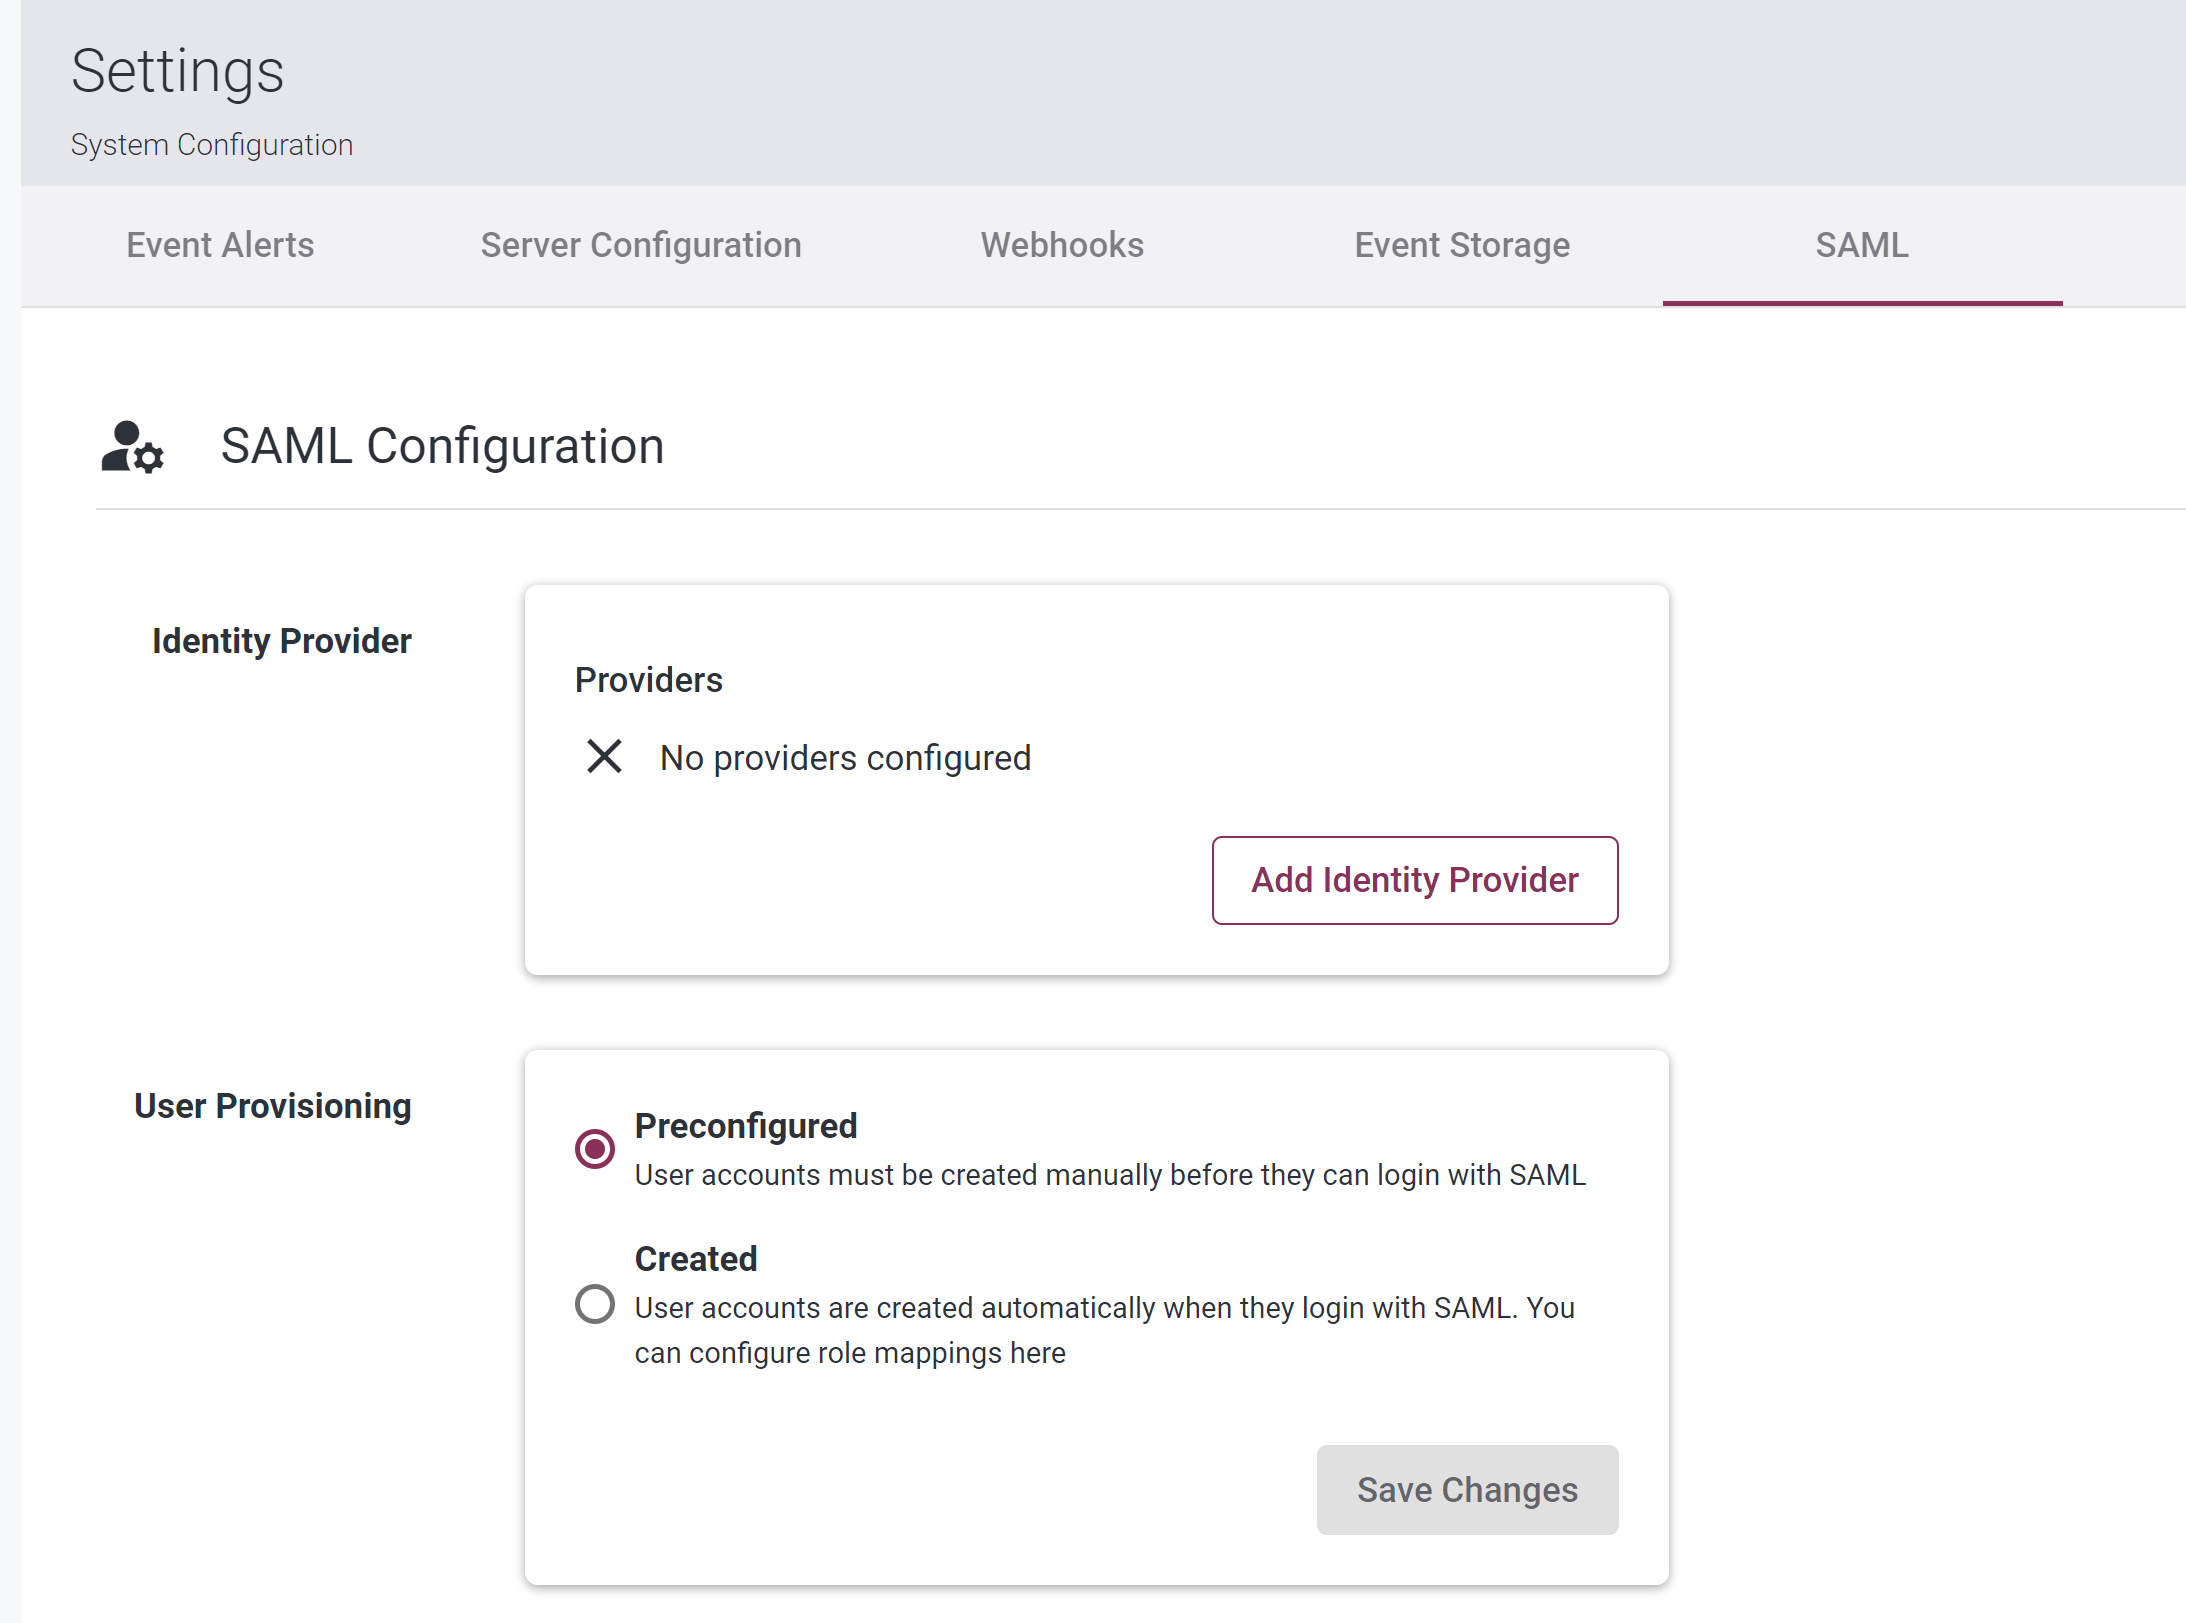
-
Click the “Add Identity Provider” button. You will be taken to this page:
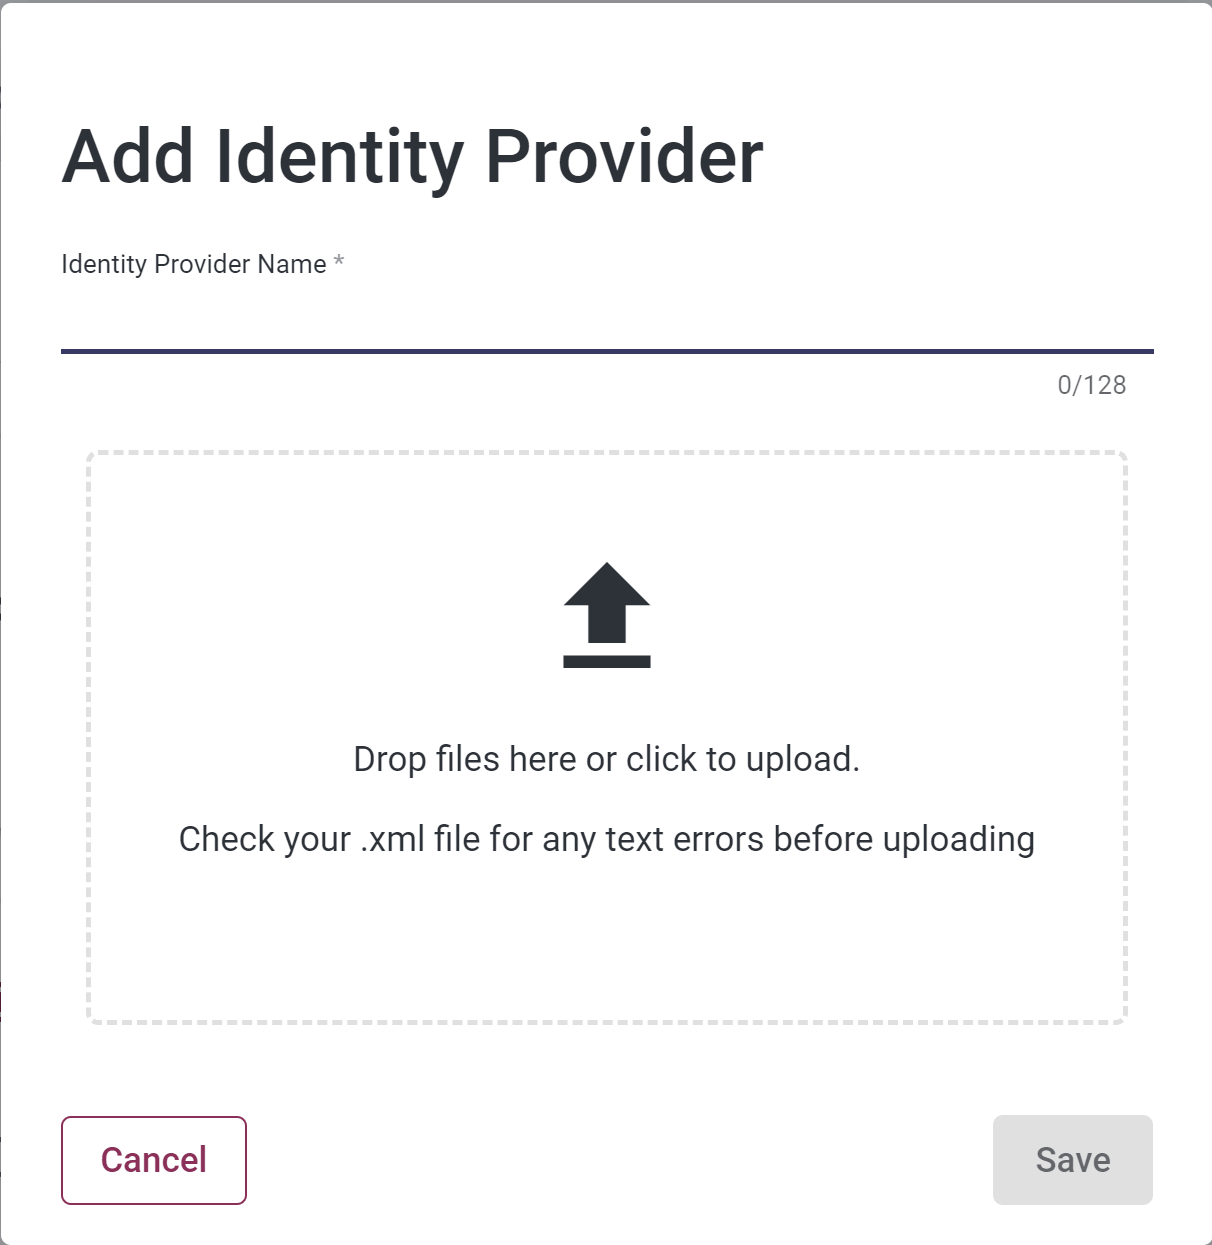
-
Enter a name for the Provider.
-
Upload the IdP metadata from Step #2.
-
Click the “Save” button.
-
The Provider will then be added to the Portal, and displayed as follows::
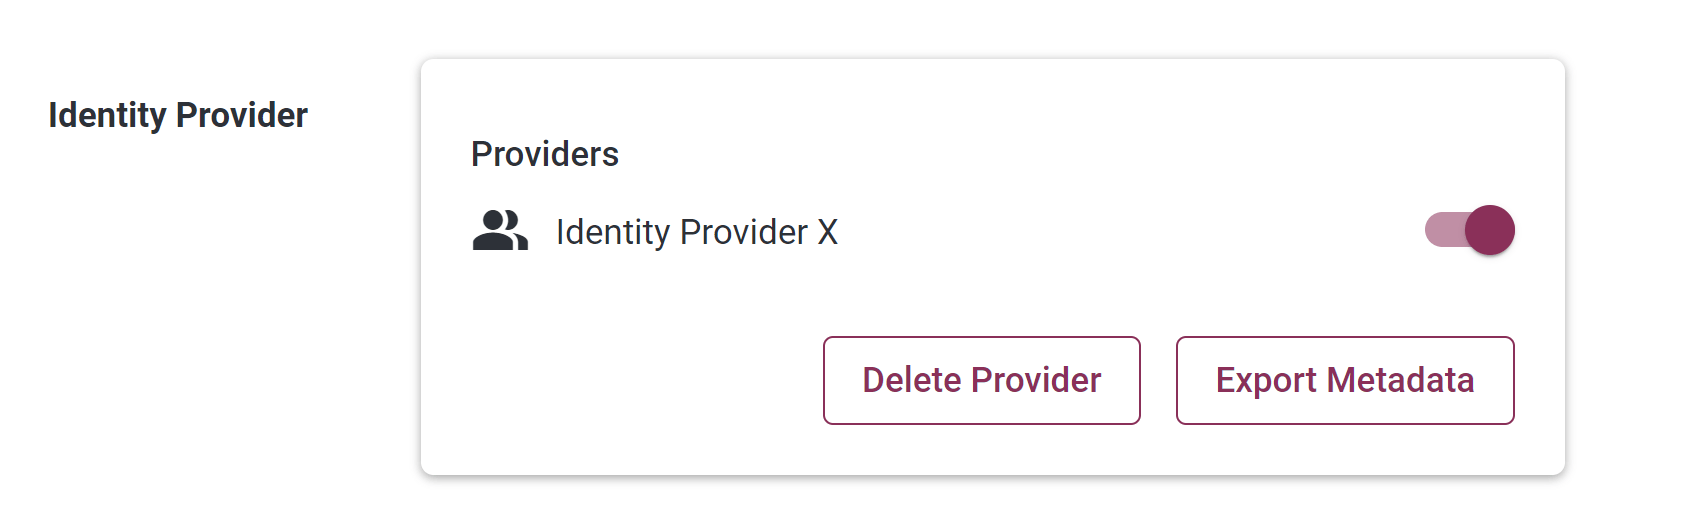
-
-
In the Portal, export the Portal metadata by clicking on the “Export Metadata” button, which saves an xml file containing the Portal metadata.
-
In your IdP, update the integration configuration as follows:
-
Option A: Import the Portal metadata.xml file (if possible)
-
Option B:
- Copy the encoded “Provider ID” value from the Portal metadata.xml file. It will look something like this:
eyJhbGciOiJIUzUxMi...iDlMVTJinbaNP6bg8QL4c1y-RcGKIXYVv5kycaUcjXATrKmX5QVAu_wA - Replace the "dummy" values in your IdP with that Provider ID value.
- Copy the encoded “Provider ID” value from the Portal metadata.xml file. It will look something like this:
-
Each time an Identity Provider is added in the portal, the value of the encoded Provider ID changes, and needs to be updated in your IdP.
Configuring User Provisioning
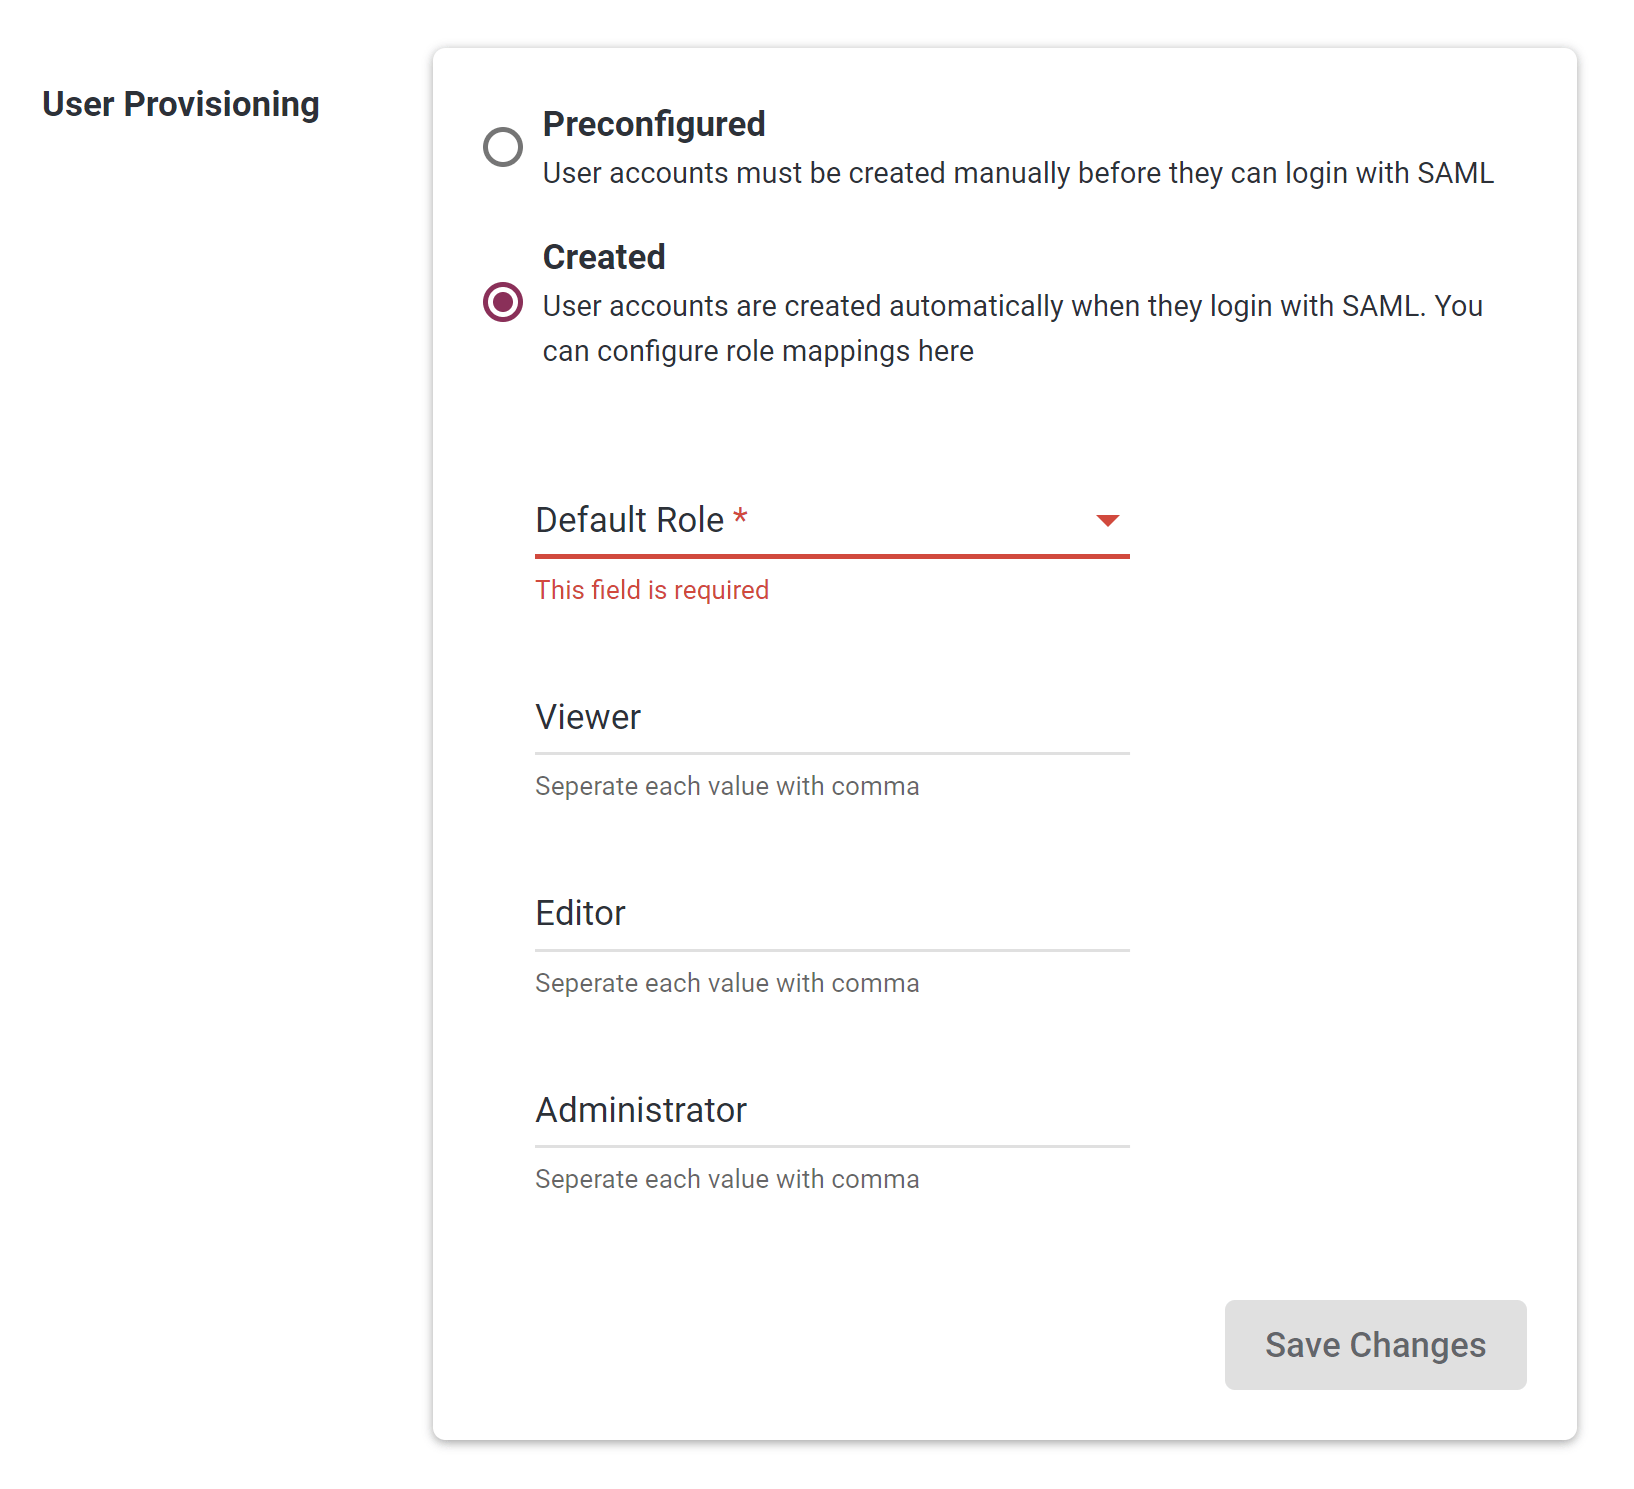
There are two User Provisioning options in the Portal: Created and Provisioned. These can be seen in Settings > System Settings > SAML:
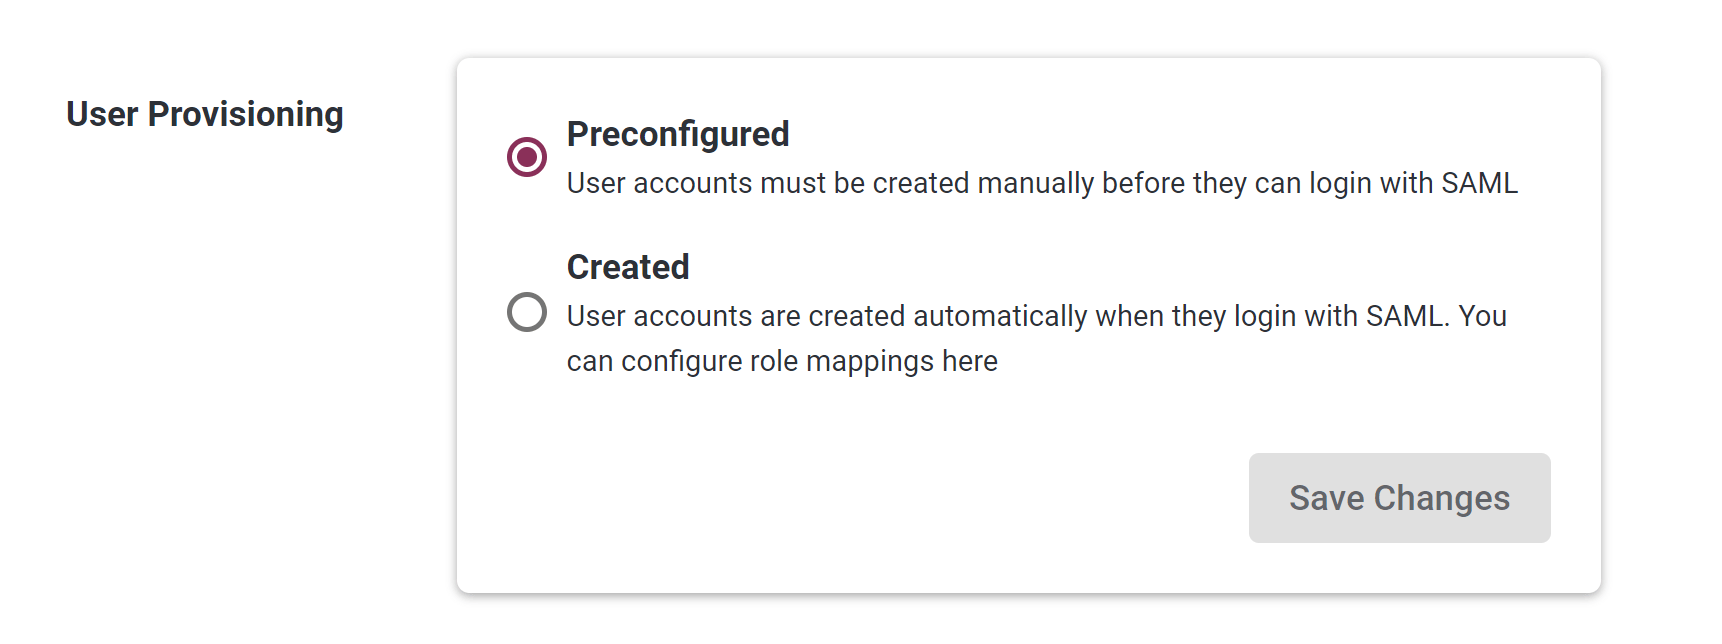
Option: Preconfigured
- When this option is select, each user must be created in the Portal before they can login via SSO.
Option: Created
-
When this option is selected, new Portal users get automatically created when they first try to log in to the Portal via SSO.
-
Specifying Default Portal Role (Mandatory):
-
Each time Portal users login via SSO, their role is set to the “Default Role”, which is specified as follows:
-
-
Overriding Default Portal Role with IdP Role (Optional):
-
Optionally, you can setup your configuration so that each user's role in the IdP gets automatically copied into the Portal. This is done as follows:
-
Step 1: In your IdP, add a custom user attribute named
role -
Step 2: In your IdP, create a “SAML Attribute Statement”, with a name of
userRole, and value ofuser.role. -
Step 3: In your IdP, adjust individual user profiles to have appropriate values for
rolee.g. eitherportal-viewer,portal-admin, orportal-editor. -
Step 4: In the Portal, configure User Provisioning as follows:
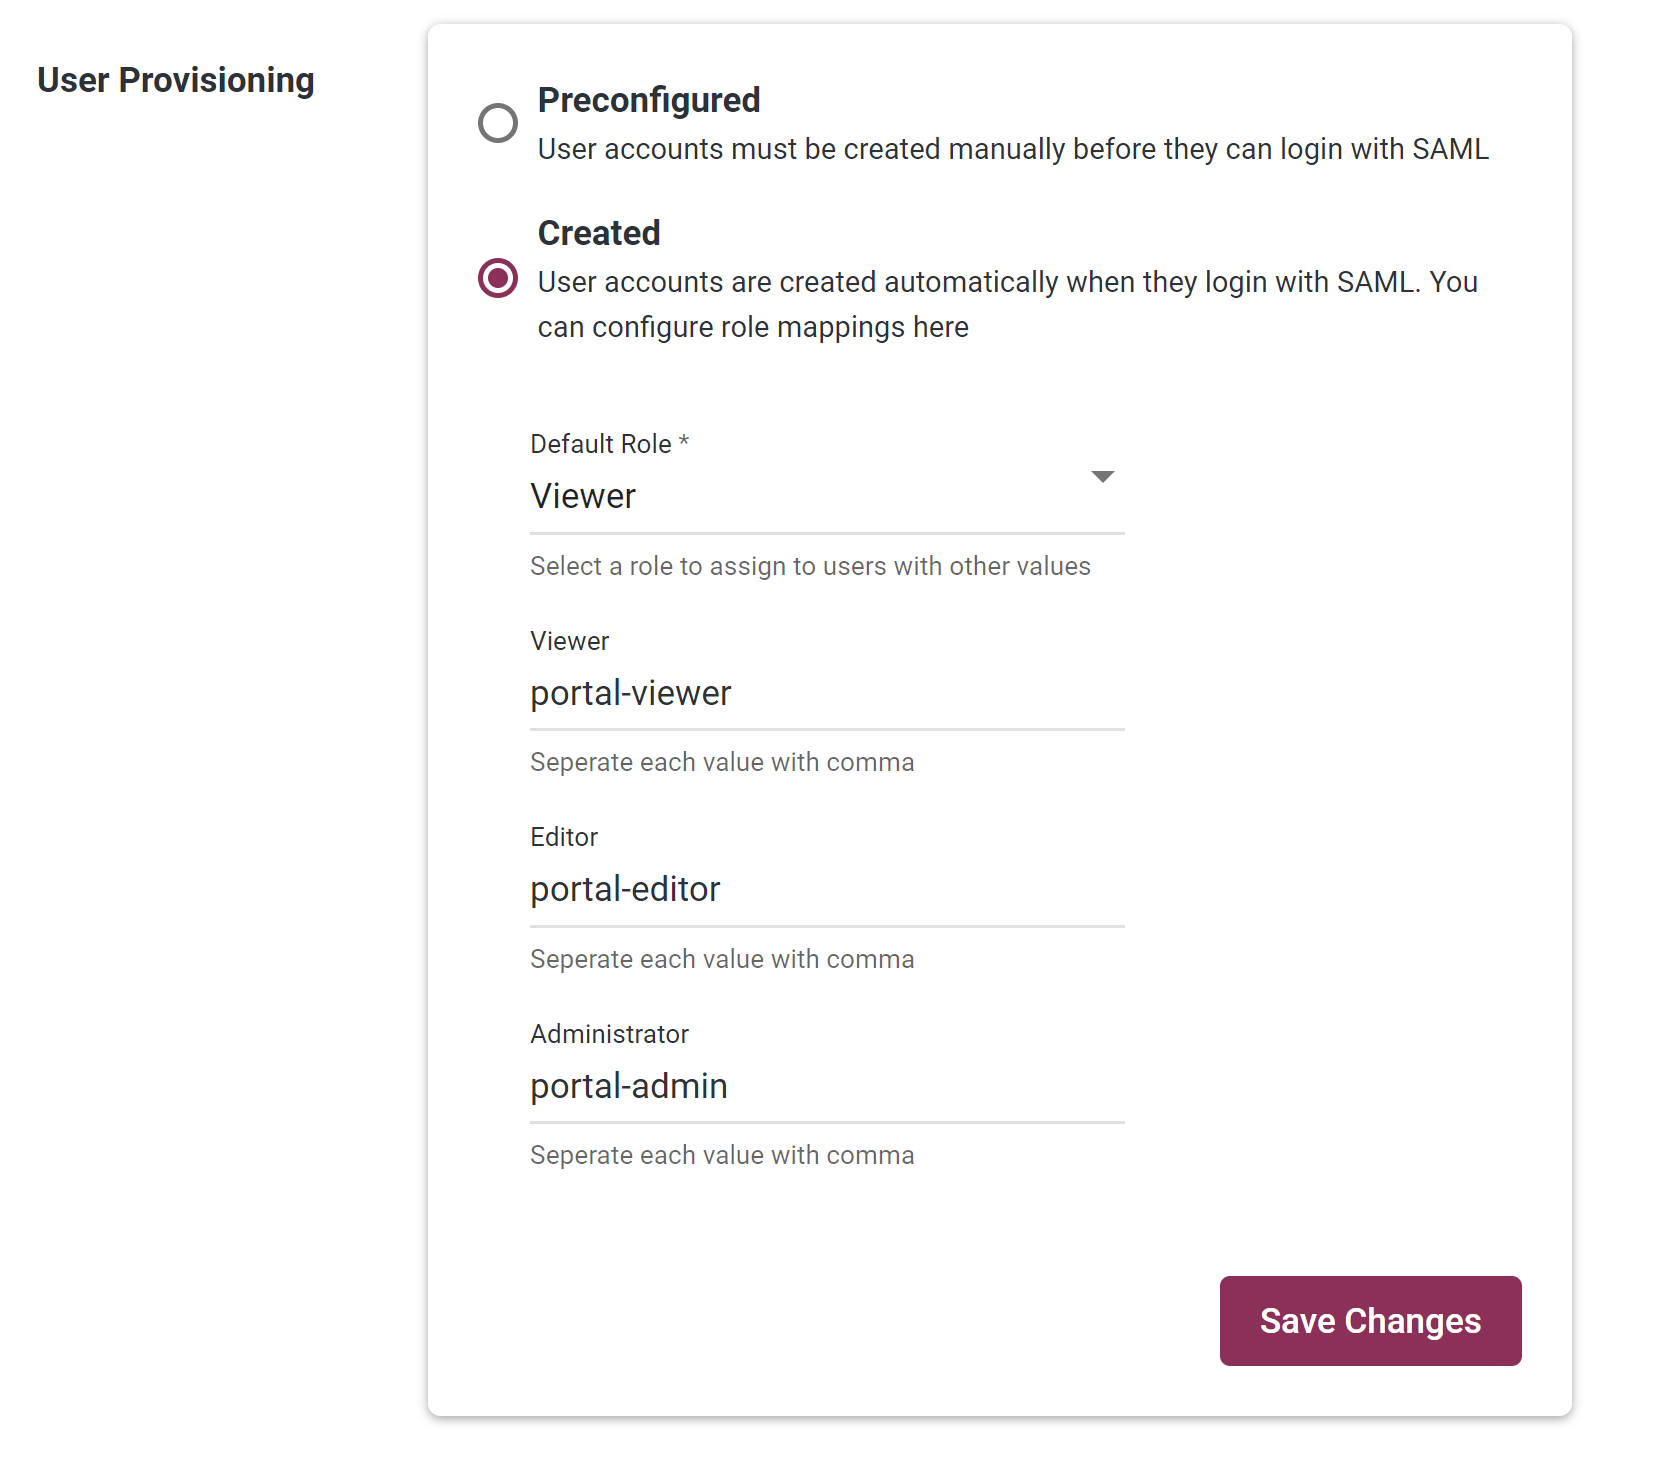
-
-
-
Overriding non-role attributes in the Portal, with the attributes from the IdP (Optional):
-
Each time Portal users login via SSO, the following attribute are set to blank:
- First Name
- Last Name
-
Optionally, you can setup your configuration so that the corresponding attributes in the IdP get automatically copied into the Portal. This is done as follows:
-
Step 1: In your IdP, create a any of the following Attribute Statements:
- Name
firstName, valueuser.firstName - Name
lastName, valueuser.lastName - Name
email, valueuser.email
- Name
-
Step 2: In your IdP, adjust individual user profiles to have appropriate values for
firstname,lastName, oremail.
-
-
SAML Group Mapping
In an IdP, groups help simplify user management. If the user is configured in certain groups in the Idp, this can be exposed in SAML and used to determine the user's team/role combinations in Portal. This mapping should be configured ONCE (in the Portal) and not per user. Users team/role memberships are then automatically mapped on first and future logins.
To Create teams in the Portal, Please refer to the teams page teams.md in the User guide.
In most IdPs, groups are exposed through a SAML attribute (for example: groups, memberOf, or member). There may be a default SAML groups attribute in your Idp or you may have to configure one - either way we need to know the attribute name (see below)
Before configuring SAML Group Mapping in the Portal UI:
- Create groups in your IdP and assign users to them.
- In your IdP SAML application, configure a groups attribute:
- Attribute name:
groups(or your chosen group attribute name) - Name format:
Unspecified - Filter:
Matches regexwith value.*(if required by your IdP policy)
- Attribute name:
- In the SAML tab, select
CreatedunderUser Provisioning. TheGroups Attributefield appears in the Portal UI.
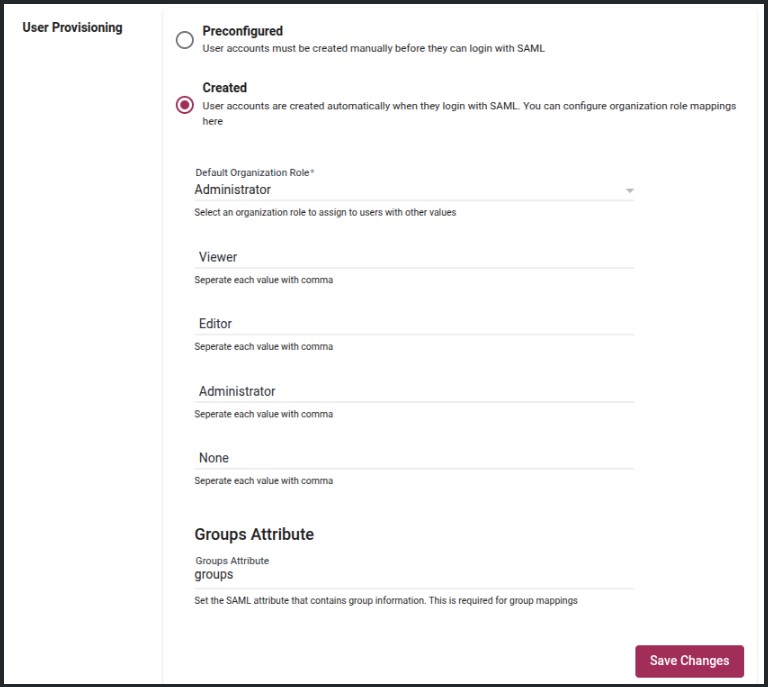
- In
Groups Attribute, enter the IdP group attribute name configured in your SAML application.- Example: if your IdP sends groups in
groups, entergroups. - Click Save Changes and confirm.
- After saving, the Add Mapping button is enabled in the team-role mappings table.
- Example: if your IdP sends groups in
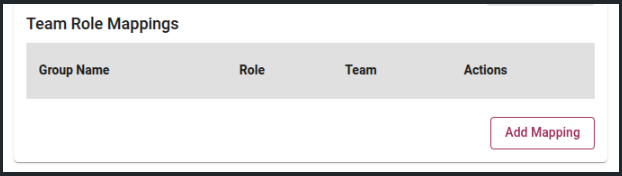
Add Team Role Mapping
In Portal, we are mapping IdP groups to teams in the Portal using team role mappings.
For example, if you want to map the developers group in your IdP to the developers team in Portal, then you would do the following:
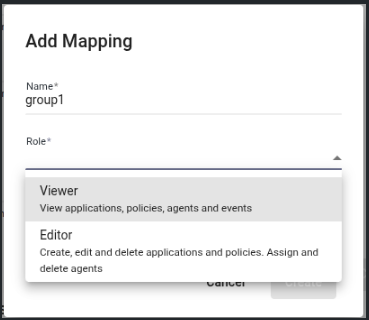
- Click Add Mapping button. You will get an Add Mapping dialog with 3 fields:
Group Name,TeamandRole. - In
Group Namefield, enter the IdP group name exactly as sent in the SAML assertion (exact, case-sensitive match), e.g.developers. - Click the Role drop-down.
- Select a role. Currently, only
EditorandViewerare supported.
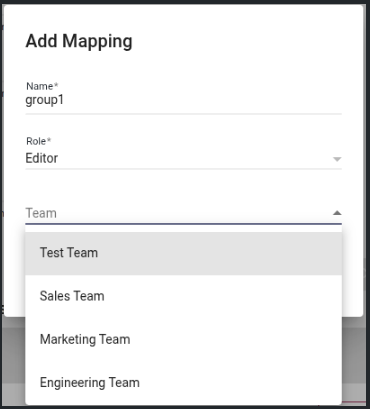
- Click the Team drop-down.
- Select the team in the Portal to map to, for example
Engineering Team.
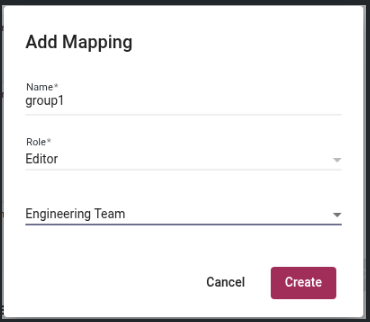
- Click Create.
- Once the mapping is created, you will see the new team role mapping in the table as follows:
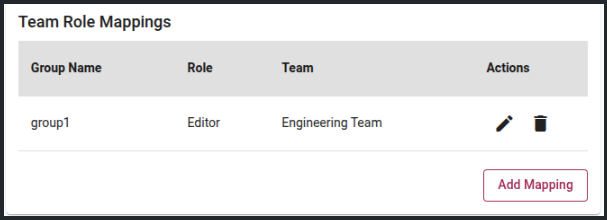
After the mapping is created, when the user who is a member of developers group in IdP logs in to Portal, they will automatically become a member of Engineering Team with Editor role in Portal.
Edit Team Role Mapping
The Edit Team Role Mapping action lets users update the role and team in an existing mapping. The group name cannot be changed after creation. To edit a mapping:
- Click the Edit Pencil Icon. You will get an Edit Mapping dialog as follows:
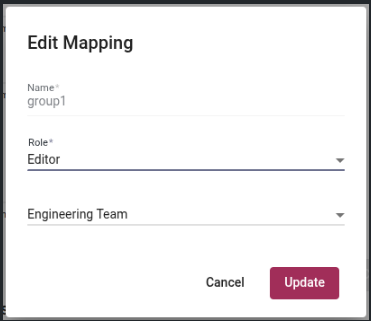
- In the Edit Mapping dialog, update Role and Team.
- The group name is read-only. To change it, delete the mapping and create a new one.
- Click Update.
Delete Team Role Mapping
The Delete Team Role Mapping action removes the mapping from the Portal. This change will take effect next time mapped users login through the IdP.
- Click the Delete Icon. You will get a confirmation dialog as follows:
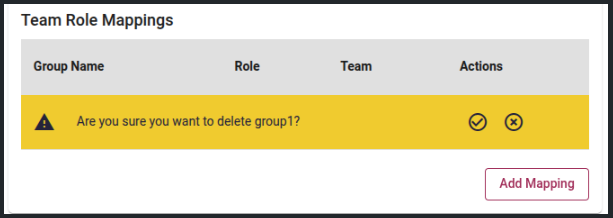
- Click Confirm to permanently delete the mapping.
- Click Cancel to keep the mapping unchanged.
Securing SAML
If you wish to sign SAML requests or encrypt SAML response assertions, then the Portal Dedicated must be configured with a private key and certificate. To do this, use the following steps:
-
Generate a private key and certificate. You can use OpenSSL to generate a self-signed certificate and private key:
sudo openssl req -x509 -newkey rsa:2048 -keyout /opt/waratek/portal-private.key \-out /opt/waratek/portal.crt -days 3650 -nodes \-subj "/CN=Portal SAML Signing"This creates a PKCS#8 private key and X.509 certificate valid for 10 years at the following locations:
- /opt/waratek/portal-private.key
- /opt/waratek/portal.crt
Because the private key is unencrypted, restrict its file permissions and set ownership to the service account that runs the Portal:
sudo chmod 600 /opt/waratek/portal-private.keysudo chown <portal-user>:<portal-group> /opt/waratek/portal-private.key /opt/waratek/portal.crtReplace
<portal-user>and<portal-group>with the appropriate user and group for your Portal installation. -
Add the following 2 lines to your application.properties file:
portal.security.authentication.saml.relyingparty.certificate=file:/opt/waratek/portal.crtportal.security.authentication.saml.relyingparty.private-key=file:/opt/waratek/portal-private.key -
Restart the Portal Dedicated.
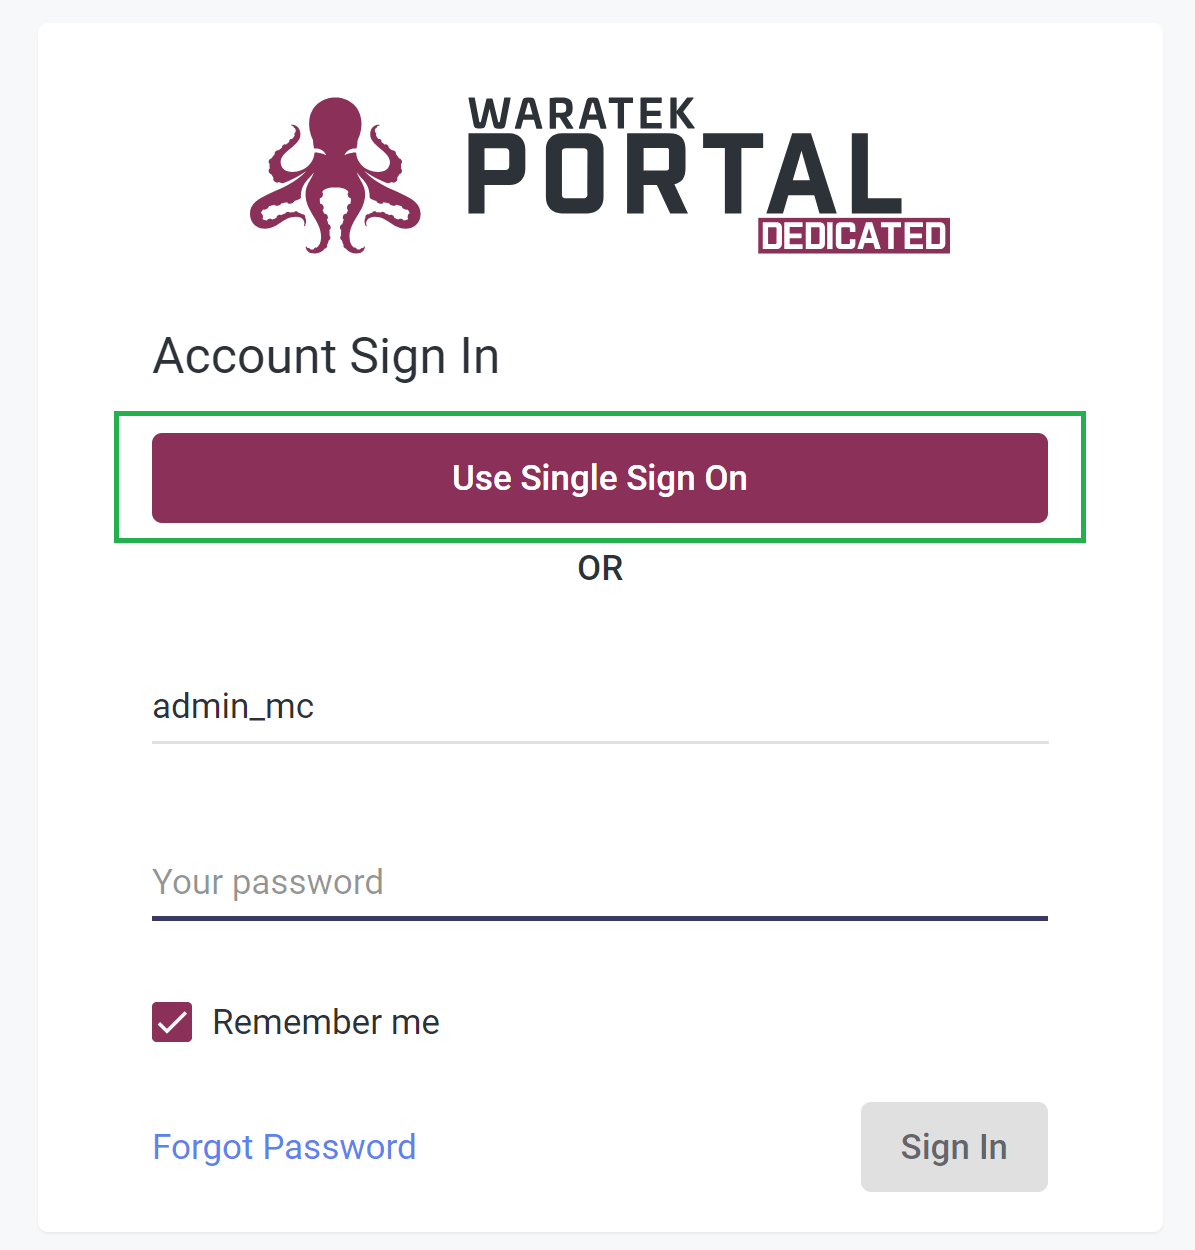
Verifying your Configuration
To verify that your SAML integration is now configured correctly, use the following steps:
-
Go to the Portal login page, and verify that the “Use Single Sign On” button appears e.g.
-
Click the “Use Single Sign On” button and verify that you get taken to the login page of your IdP.
-
Upon successful login to your IdP you should be redirected back to the Portal and logged in.